Before You Start: Preparation Checklist
The quality of your AI-generated landscape designs depends heavily on preparation. Before opening any tool, complete this checklist:
- Clean your yard — Remove cars, toys, hoses, trash bins, and temporary items
- Know your dimensions — Roughly measure the areas you want to redesign
- Identify keepers — Note trees, structures, and features you want to preserve
- Check your conditions — Know your hardiness zone, sun exposure, and soil type
- Set your budget range — Having a rough budget helps you evaluate AI suggestions realistically
- Gather inspiration — Save 5–10 images of landscapes you admire for style reference
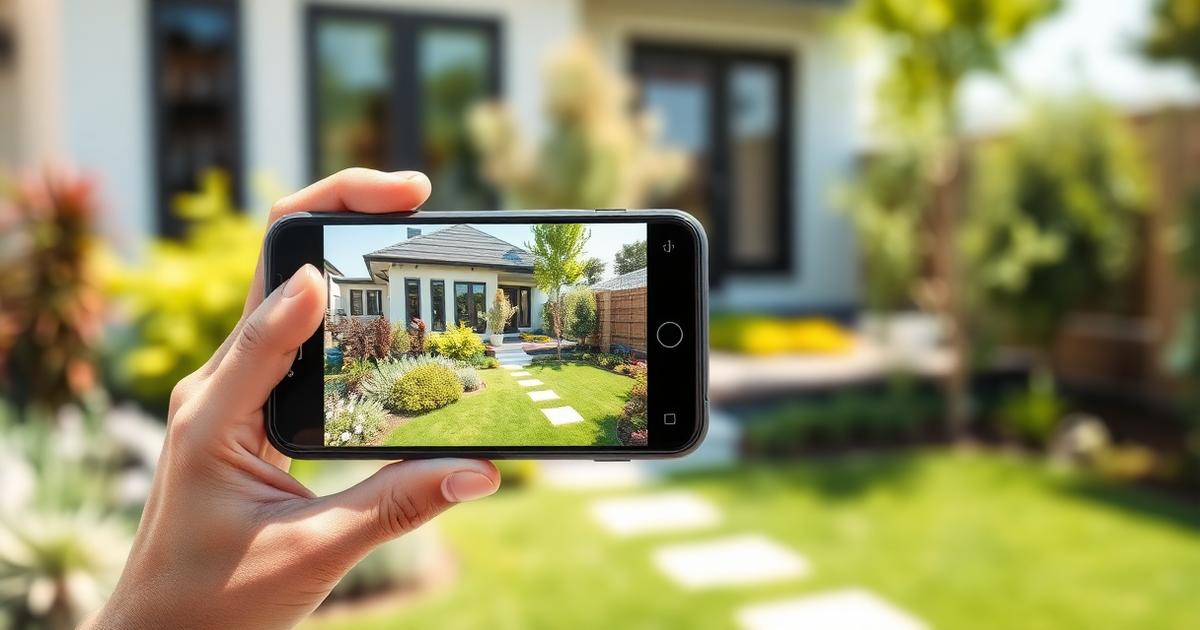
Step 1: Take the Perfect Yard Photo
Equipment
Any modern smartphone works perfectly. You don't need a professional camera. Clean your phone lens with a soft cloth before shooting — pocket lint and fingerprints degrade image quality more than you'd think.
Timing
The best times to photograph your yard:
- Early morning (7–9 AM) — Soft, warm light with gentle shadows
- Late afternoon (4–6 PM) — Golden light that flatters every landscape
- Overcast days — Even light that reveals maximum detail without harsh shadows
Avoid midday sun — the harsh overhead light creates deep shadows that confuse AI processing and hide details in bright areas.
Composition
Stand at the vantage point where you most naturally view your yard:
- Front yard: Stand at the sidewalk or street, centered on your front door
- Backyard: Stand at your back door or on your deck/patio
- Side yards: Stand at the end looking down the length
Hold your phone horizontally (landscape orientation) at eye level. Include your house in the frame — this gives the AI architectural context to match the design style. Capture the full width of the area you want redesigned, plus a little extra on each side.
Multiple Shots
Don't rely on a single photo. Take at least 5–10 shots varying your position, angle, and framing. You'll upload the best one, but having options ensures you have at least one great candidate.
Step 2: Choose Your Design Style
Most AI landscape tools offer predefined styles. Here's a guide to the most common options:
Modern/Contemporary
Clean lines, geometric shapes, limited plant palette, high-quality hardscape. Best for: contemporary homes, small lots, low-maintenance preferences. Key elements: concrete pavers, ornamental grasses, Corten steel, minimalist lighting.
Traditional/Classic
Symmetrical layouts, manicured lawns, formal planting beds, classic materials. Best for: Colonial, Georgian, Federal-style homes. Key elements: brick pathways, boxwood hedges, symmetrical flower beds, classical urns.
Cottage/Romantic
Overflowing borders, mixed perennials, informal paths, climbing plants. Best for: older homes with character, gardeners who enjoy maintenance. Key elements: roses, lavender, picket fences, arbors, irregular flagstone.
Mediterranean
Warm tones, gravel paths, drought-tolerant plants, terracotta accents. Best for: stucco homes, warm/dry climates, water-conscious design. Key elements: lavender, olive trees, gravel, stone walls, terracotta pots.
Tropical
Lush foliage, bold colors, layered canopy, exotic plants. Best for: warm climates (zones 9–11), pool areas, resort-style living. Key elements: palms, bird of paradise, hibiscus, water features, teak furniture.
Japanese/Zen
Intentional minimalism, asymmetric balance, natural materials. Best for: contemplative spaces, small gardens, side yards. Key elements: raked gravel, carefully placed stones, moss, Japanese maples, bamboo.
Step 3: Generate Your Designs
Your First Generation
Upload your best photo and select your preferred style. Most tools generate results in 15–60 seconds. Don't judge the first result too harshly — think of it as a first draft. Look for the overall direction: does the style feel right? Does the scale work? Is this the kind of transformation you're excited about?
Iterating for Better Results
Generate at least 5 variations before settling on favorites. Each generation will be different, and you'll start noticing elements you consistently love vs. elements that don't resonate. Tips for better iterations:
- Try the same photo in 3–4 different styles to discover unexpected preferences
- If a tool allows text prompts, be specific: "Add a curved stone pathway to the front door with lavender borders"
- Try different photos of the same space — angle and lighting affect results significantly
- Generate from different seasons if possible — a winter photo produces different results than summer
Comparing Results
Save your top 5 generations and view them as a group. Look for common elements across your favorites — these patterns reveal your true design preferences. You might discover you consistently prefer warm-toned materials, curved pathways, or layered plantings regardless of the overall style.
Step 4: Refine Your Favorite
Identify Must-Have Elements
From your top design, list the elements that make it special:
- The specific pathway style and material
- The planting arrangement and density
- Key focal points (specimen tree, water feature, seating area)
- The color palette (warm/cool, vibrant/muted)
- Specific materials visible in the rendering
Research Real-World Equivalents
AI renderings suggest a look, but you need to identify real materials and plants that match:
- What stone type matches the pathway shown? (flagstone, bluestone, travertine, pavers)
- What plants in your climate zone resemble those in the rendering?
- What gravel/mulch color and type matches the ground treatment?
- What lighting fixtures create the ambiance shown?
Create a Mood Board
Combine your AI-generated designs with photos of real materials, actual plants, and built examples. This mood board becomes your project bible — reference it for every decision from material selection to plant shopping.
Step 5: Plan Your Implementation
Budget Planning
Break your design into cost categories:
| Category | % of Budget | Example ($5,000 total) |
|---|---|---|
| Hardscape | 40–50% | $2,000–$2,500 |
| Plants | 25–35% | $1,250–$1,750 |
| Soil & mulch | 10–15% | $500–$750 |
| Lighting | 5–10% | $250–$500 |
| Accessories | 5–10% | $250–$500 |
Phased Installation
You don't have to do everything at once. A phased approach spreads cost and effort:
- Phase 1 (Now): Hardscape — pathways, patios, edging, raised beds
- Phase 2 (Next season): Structure plants — trees, large shrubs, hedges
- Phase 3 (Following season): Detail plants — perennials, ground covers, accents
- Phase 4 (Ongoing): Finishing — lighting, containers, seasonal color, furniture
DIY vs. Professional Installation
Some elements are easy to DIY (planting, mulching, simple edging), while others benefit from professional installation (paver patios, retaining walls, irrigation systems). Evaluate each element of your design independently — you might DIY 70% and hire out the complex 30%.
Sharing with Contractors
If hiring professionals, your AI design is your most powerful communication tool. Print or email your favorite renderings with annotations explaining what you want. This clarity reduces misunderstandings, minimizes revisions, and often results in lower quotes because contractors can estimate accurately from visual references.
Start Your Landscape Transformation
Upload a photo of your yard and follow these steps to create a professional landscape design. No experience needed — just your photo, your vision, and a few minutes of exploration.