Why Photo Quality Matters for AI Design
AI landscape design tools analyze every pixel of your uploaded photo. They identify structures, vegetation, hardscape, boundaries, lighting conditions, and spatial relationships. When you provide a clear, well-lit, properly composed photo, the AI has more accurate information to work with — and produces dramatically better design concepts.
Conversely, a dark, blurry, or poorly framed photo gives the AI incomplete or misleading information. It might misidentify a shadow as a structure, lose detail in overexposed areas, or misunderstand the scale of your space. The result: designs that look generic rather than tailored to your specific yard.
The difference between a "good enough" photo and a well-captured one can mean the difference between AI results you discard and results that genuinely inspire your renovation project. And the good news? You don't need professional camera equipment — a modern smartphone and these techniques are all it takes.
Camera Settings and Equipment
Smartphone vs. Camera
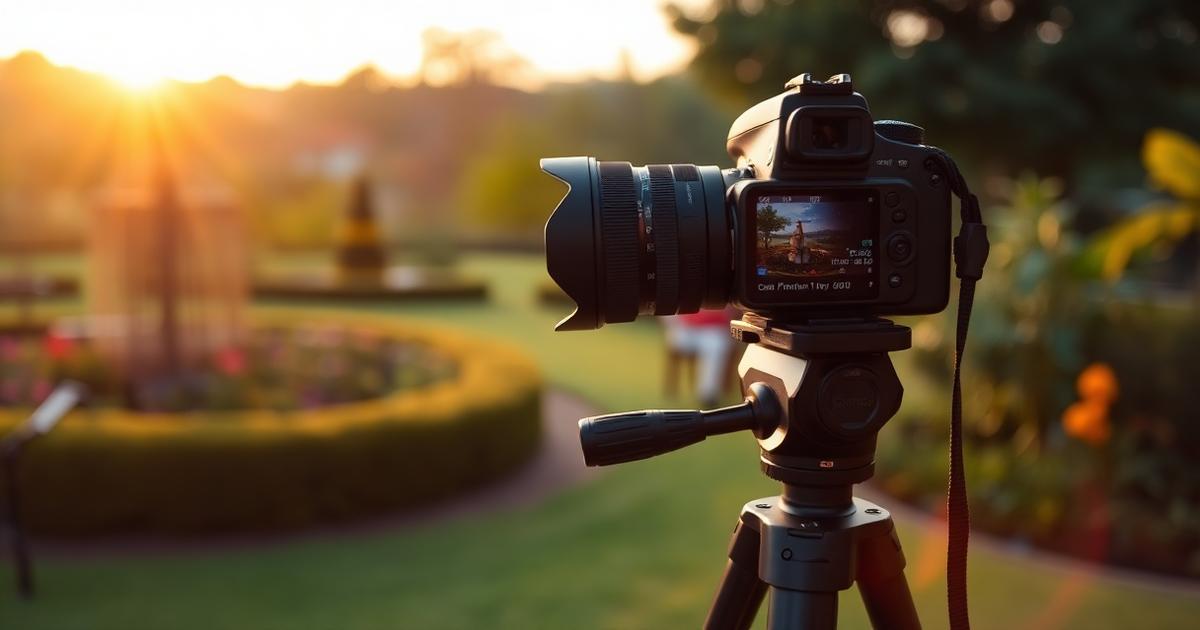
Modern smartphones (iPhone 12+ or comparable Android) produce excellent photos for AI landscape design. You don't need a DSLR or mirrorless camera. However, if you do have a dedicated camera, use a wide-angle lens (24–35mm equivalent) for the best results.
Resolution
Shoot at the highest resolution your device supports. AI tools work best with images at least 1200 pixels wide — most smartphones shoot at 3000+ pixels, so this is rarely an issue. Don't crop your photos aggressively, as this reduces resolution in the area you want designed.
HDR Mode
Enable HDR (High Dynamic Range) on your smartphone. HDR captures multiple exposures and merges them, preserving detail in both bright sky areas and dark shadows. This is particularly important for yards with mixed sun and shade, which is most yards.
Avoid Digital Zoom
Never use digital zoom — it degrades image quality significantly. Instead, physically move closer or farther from your subject. If you can't capture the entire area in one photo, take multiple overlapping shots from the same position.
Lighting: The Most Critical Factor
Best Time to Shoot
The optimal times for landscape photography are:
- Morning golden hour — 30 minutes to 2 hours after sunrise. Warm, soft light with long shadows that reveal terrain texture.
- Evening golden hour — 2 hours to 30 minutes before sunset. Similar warm quality with flattering light angles.
- Overcast days — Anytime. Cloud cover acts as a giant diffuser, producing even, shadow-free light that reveals maximum detail. Often the best condition for AI design photos.
Worst Time to Shoot
- Midday harsh sun — Creates deep, hard shadows and blown-out highlights. The AI struggles with these extreme contrasts.
- Dusk/twilight — Too dark for clear detail. While atmospheric, the AI needs to see your yard clearly.
- Direct sun shining into the camera — Causes lens flare and washed-out images.
Dealing with Shadows
If your yard has significant tree shade, try shooting when the sun is at an angle that minimizes harsh shadow patterns. Early morning often works well because the sun is low and casts longer but softer shadows. If you must shoot with dappled tree shadows, overcast conditions neutralize them effectively.
Composition and Framing
The Primary View
For front yards, stand at the curb or sidewalk — this is the view visitors see and typically the most important angle for curb appeal design. Stand centered on your front door or at the angle where the most facade is visible. Hold the camera at eye level (not tilted up or down).
For backyards, stand at your back door, patio, or deck — the viewpoint where you spend the most time. This is the perspective that matters most for your daily enjoyment of the landscape.
Multiple Angles
Don't rely on a single photo. Capture your yard from multiple vantage points:
- Wide establishing shot — Captures the full yard in context with the house
- Left and right angles — Shows depth and reveals areas hidden in the straight-on view
- Detail shots — Close-ups of specific areas you want to redesign
- From inside looking out — The view through your windows that you see every day
Include Context
Always include enough context for the AI to understand the space:
- House facade — At least partially visible, so AI can match the architectural style
- Property boundaries — Fences, hedges, neighbor structures
- Ground plane — Show where the land meets the house foundation
- Sky — Include some sky (10–20% of the frame) for spatial reference
What to Clean Up Before Photographing
Remove Temporary Items
Clear your yard of items that shouldn't appear in the design:
- Cars, bicycles, toys, garden hoses
- Trash bins, recycling containers
- Seasonal decorations
- Patio furniture covers or tarps
- Construction materials or tools
What to Leave
Keep permanent elements visible — the AI needs to see these to work around them:
- Mature trees you want to preserve
- Permanent structures (shed, garage, pergola)
- Hardscape you're keeping (driveway, retaining walls)
- Utility boxes or fixtures that can't be moved
Common Photo Mistakes That Ruin AI Results
1. Shooting Through Windows
Taking photos through glass introduces reflections, glare, and reduced clarity. Always step outside to photograph your yard. Even clean glass degrades image quality enough to affect AI results.
2. Finger Over Lens
It sounds basic, but check your phone case isn't partially covering the lens. Also clean the lens with a soft cloth — smudges from pockets create a soft, hazy look that reduces AI accuracy.
3. Portrait Orientation
Always shoot landscape (horizontal) orientation for yard photos. Portrait orientation captures too much sky and ground and not enough lateral space. Most AI tools expect landscape-oriented images.
4. Too Much Sky
The sky should be 10–20% of your frame, not 40–50%. Tilt the camera down slightly to emphasize the yard rather than the clouds. The exception is if you have significant vertical elements (tall trees, multi-story house) that need to be fully visible.
5. Too Close or Too Far
Stand far enough back to capture the complete area you want designed, but close enough that details are clearly visible. As a rule of thumb, if you can't distinguish individual plants or texture differences in your photo, you're too far away.
Seasonal Considerations
Best Season for Photos
If you have flexibility, shoot in early spring or late fall when deciduous trees are bare or minimal — this reveals the structure of your yard without leafy obstruction. The AI can better understand the underlying layout and propose designs that work year-round.
Summer Photos
Summer provides the most color and fullness, but dense foliage can hide the yard's actual structure. If shooting in summer, also take photos from higher angles (upper floor window or step ladder) to see through the canopy.
Winter Photos
Snow-covered yards don't work well for AI design — the tool needs to see the ground plane. If winter is your only option, wait for a snow-free day or at least photograph areas where snow has melted.
Editing: Less Is More
Minimal editing produces the best AI results:
- Do: Slight brightness adjustment if the photo is underexposed
- Do: Straighten if the horizon is tilted
- Do: Crop to focus on the area you want designed
- Don't: Apply Instagram-style filters
- Don't: Increase saturation or contrast dramatically
- Don't: Use black and white or sepia effects
- Don't: Apply heavy sharpening or noise reduction
Ready to Upload Your Photo?
Now that you know how to capture the perfect yard photo, try uploading it to our AI landscape design tool. Better input means better designs — and you're now set up for the best possible results.